banner background

mmici21

Friday, January 31, 2014

Be Mine Valentine - Mantel of Looooooove....

Everyone's all decorating their mantels for Valentines Day... and I'm over here like "what's a mantel?"  KIDDING!!!!

Here's the view...  that we look at while watching some TV in the ole Living Room....


I whipped a quick banner for our mantle out of teal and white chevron material (picked up a yard of that at Wal-Mart for around $3 or $4 - and went to town making some bunting up for our mantle and for our entry way.   I cut triangles out of the material using my pinking shears and then glued the material to the ribbon using my Welder Adhesive (LOOOOOVE this stuff!!!!).  I then punched out hearts from my heart punch and glued them on as well. 

 
I made one for our entryway that states  "LOVE"


and
the one on our mantel states "Be Mine"


Then I got really ambitious.. and starting doing other stuff to the entry way and to our mantel... and well... here we are...

I have a couple of items on here from previous blog posts, the pink heart is from our local goodwill and I spray painted it with Watermelon by Krylon.
You can see my other treasures from Thriftstore Thursday's finds here
I picked up the heart for $1.99 and the white candle came from Dollar General for, well a $1.00.

 
I purchased this LOVE at a local Dollar General for $1.00.  It was initially orange, and I painted it this beautiful teal by Valspar.  First time using this paint, and I am a big fan, covered quite nicely, and in cold weather to boot!

 
I partnered these great and affordable finds up with the "We not Me"canvas project that I shared with you all last week.
 
For the final touch I added the banner "Be Mine" for a little swag....


Thursday, January 30, 2014

Skeletons in the Closet... J/K it's just junk

Our hallway closet is OUT OF CONTROL!!!!  aggahhhhh!!! 


I say silent cuss words in my head EVERY morning I dig thru it to find my daughters hat and mittens...  heaven forbid I forget those babies and she gets frostbite... we live in IOWA... everyone wears 27 layers of clothes here in the winter... my sweet baby girl NEEDS that hat and mittens! 

Same song and dance... morning after morning... pick out which coat we want to wear that day... dig thru the shelf that I cannot see because I am too short.... so I stand on my tippy toes and grab at whatever looks feels like the correct hat and glove combination...  hence where the silent cussing comes into play....
Hope its not too early for a mathematical equation...
(stress to get out the door on time + inability to locate said hat and mittens  = cussing and anxiety)
 - I have never admitted to being the perfect mommy, therefore my silent cussing should not be judged all that heavily... either that or keep the judging to a minimum please.  :)

Okay... so I got off track.. (a little)

I took stock of what we had in the closet... obviously a lot of stuff...made mental list of stations for each type of "stuff" i.e.
  •  3 peoples mittens, hats, scarves
  • coats - WAY TO MANY in here... and I found a HUGE pile of vests in here as well...
  • shoes
  • fur person leashes - yes plural.... I found 4 of them in here....
  • Vacuum/ Step Ladder
  • diaper bag
  • bag of bags and other rando crap - umbrellas, bags, rain ponchos, etc.
Soooo...
we went thru and removed coats and vests that are for other seasons of the year...

See exhibit A of the pile of material removed from said closet....


Finley and I sorted all the mittens, hats, and scarves into 3 blue bins I purchased from Dollar General for $5.00 a piece.

This photo shows everything back in its place,


however now we have all 3 bins in a row on our shelf and each one has the person's name tag on it.... we moved the Thirty One bags to the end of the shelf and they are sitting the long direction on the shelf instead of the wide direction, allowing more space for the crates.  Come spring time, these blue crates can be stacked on top of each other in the closet - clearing up space for our outdoor stuff.


Cleaned and scrubbed floor in the closet... and we are good to go!  Now each morning...I go to my daughter's crate... her hat and mittens are right on top... no more stress and anxiety, no more groping around trying to find the mate to her mitten... WHEW!


Wednesday, January 29, 2014

Living Room Conversion.... Making an "Office" for myself

Problem #1.  we have 2 cubbies/nooks in our living room on either side of our fireplace - what to do with that dead space?


Problem #2.  I would like to have an office area where I can write my blog posts, instead of sitting in my pub chair where I have the tendency to get distracted by my fur person, the tv, etc.

Well... I may have a temporary fix for my 2 problems!  Not saying this is permanent... nothing is safe in our house :)  (insert maniacal laugh here) waaahahahaha.... 

Here is the cubbie space that I speak of in problem #1... 
 
sidebar: (my dawg has a seriously ROUGH life...)
Look at him, he's seriously the cutest little muppet faced dog EVER!  LOVE HIM!  He seriously sleeps ALL day, and is a wonderous feet warmer upper...  cute and practical! 

We have a desk that was in my daughter's room being used for other purposes than a desk... aka - the TV holder upper... (I know.. parents of the year... blah blah blah)

Soooo... I totally had my hubby (aka the muscle) move some furniture around for me and I confiscated the desk and moved it to the living room.... (please ignore the dust - dusting is not my forte)
I also used this yellow chair that I had painted as a prop for our Family Photo Session back in the fall.

 
I did bust out the Endust and cleaned that bad boy up as well as the chair...
and I started to layer the décor up...
again... this is all subject to change, nothing is sacred in our house...
 
 
Put a little art in the background for a POP! of color and something creative to stimulate my mind... a cork board to hold my break thru AH HA! moments on post its, a plant to green up the space, along with SHARPIES!!!!  (seriously... what office doesn't run on coffee and sharpies?)  HELLO????!?!?!?!
oh and speaking of coffee... a coaster (its an antique tile of a rooster) to hold my hot java
a Willow Tree figurine of a Grandma and her Grand daughter spending time together.  It's titled "Tell Me a Story Grandma" - this was a gift to me from my Mother in Law as my Memaw was SUPER COOL about sharing stories and her time with me - ALWAYS!  She and I spent a lot of time together crafting, painting, and creating all kinds of stuff, its only fitting that this sits with me as I blog.
 
Well that wraps up my quick fix.... Hopefully this becomes a space that is useful, stimulating and continues to be practical, while fitting in our living room/family life.  
 
Any re-claiming of items in your house?  Making/Organizing new areas to help your life out? 


Tuesday, January 28, 2014

Toddler Tuesday! Chores Galore!

Our 3 year old daughter is at a stage where she LOVES to help out with EVERYTHING!   Her level of enthusiasm is outstanding when it comes to helping out with chores around the house. 

If your doing it... she wants to help you out....

This does slow down this fast moving mom.... which IS a good thing for me... because it really teaches me to SLOOOOOOOW down along the way and take the time, savor the moment with her and give guidance in a loving and patient way.


My memaw was always so patient with me, she always had time to show me how to make things, any range of things from sewing to baking treats.  She always had the time.  There was no agenda... no hurry to complete something before the end of the day... that was the beauty of time with Grandma.  There was always time..... that is what I constantly remind myself when I feel my "hurry up!" attitude coming on when trying to complete a task with my daughter.... 

I can only hope to be that kind of a role model for my daughter...  I just need to remember....

Take the time to teach her. 

My husband and I have been participating in the Dave Ramsey financial plan of paying our debt off - which is going great might I add!  In the spirit of managing money, we wanted to start teaching our daughter the benefits of money; how to earn it, save it, and to spend it. 

To start we came up with a list of chores that Finley helps around the house with....

  • feed Oscar LaRoo (our fur person) aka -the dog in the evening.  Mommy/Daddy will give him water 
  • water the plants once a week - Mommy will get the water for her.
  • clean out the dryer lint in the dyer between loads of laundry
  • help Mommy sort laundry into correct piles/colors
  • pick up toys in living room at the end of each day
  • Help Mommy put away Finley's laundry for the week.


Now she does do other things like "Swiffer" the floors on the main level - she wants to help out so badly that I let her at it... and then clean up behind her.  She's learning though!  She also "dusts" with me occasionally - not going to lie.... this is not my forte....
These are both tasks that we can add to her list soon!
Now to teach her how to iron.... (a girl can dream right?!?!)


After each chore that she completes she gets a coin to feed the pig. 
We ask her... do you know why you are getting this money? 
She recites back to us what task she did to earn the money.  
She LOVES to feed the pig!


When her pig is full we are going to let her take it to the bank, count the saved coins.  Then she can save half and spend the other half... on whatever she can purchase with her earnings.  She gets to pick what she wants!  She's looking forward to picking something out!  I am putting money on either princess stuff or markers... that girl can tear thru art supplies like her mother! 


How about you and your family?  What chores do your tykes help out with around the house?  Are there tasks that you would like for them to do? 

I hope that she keeps up her helpful attitude and does her tasks with a joyful heart :)

Monday, January 27, 2014

Valentine's Candy on Display

A quick, easy, and affordable craft today!!!

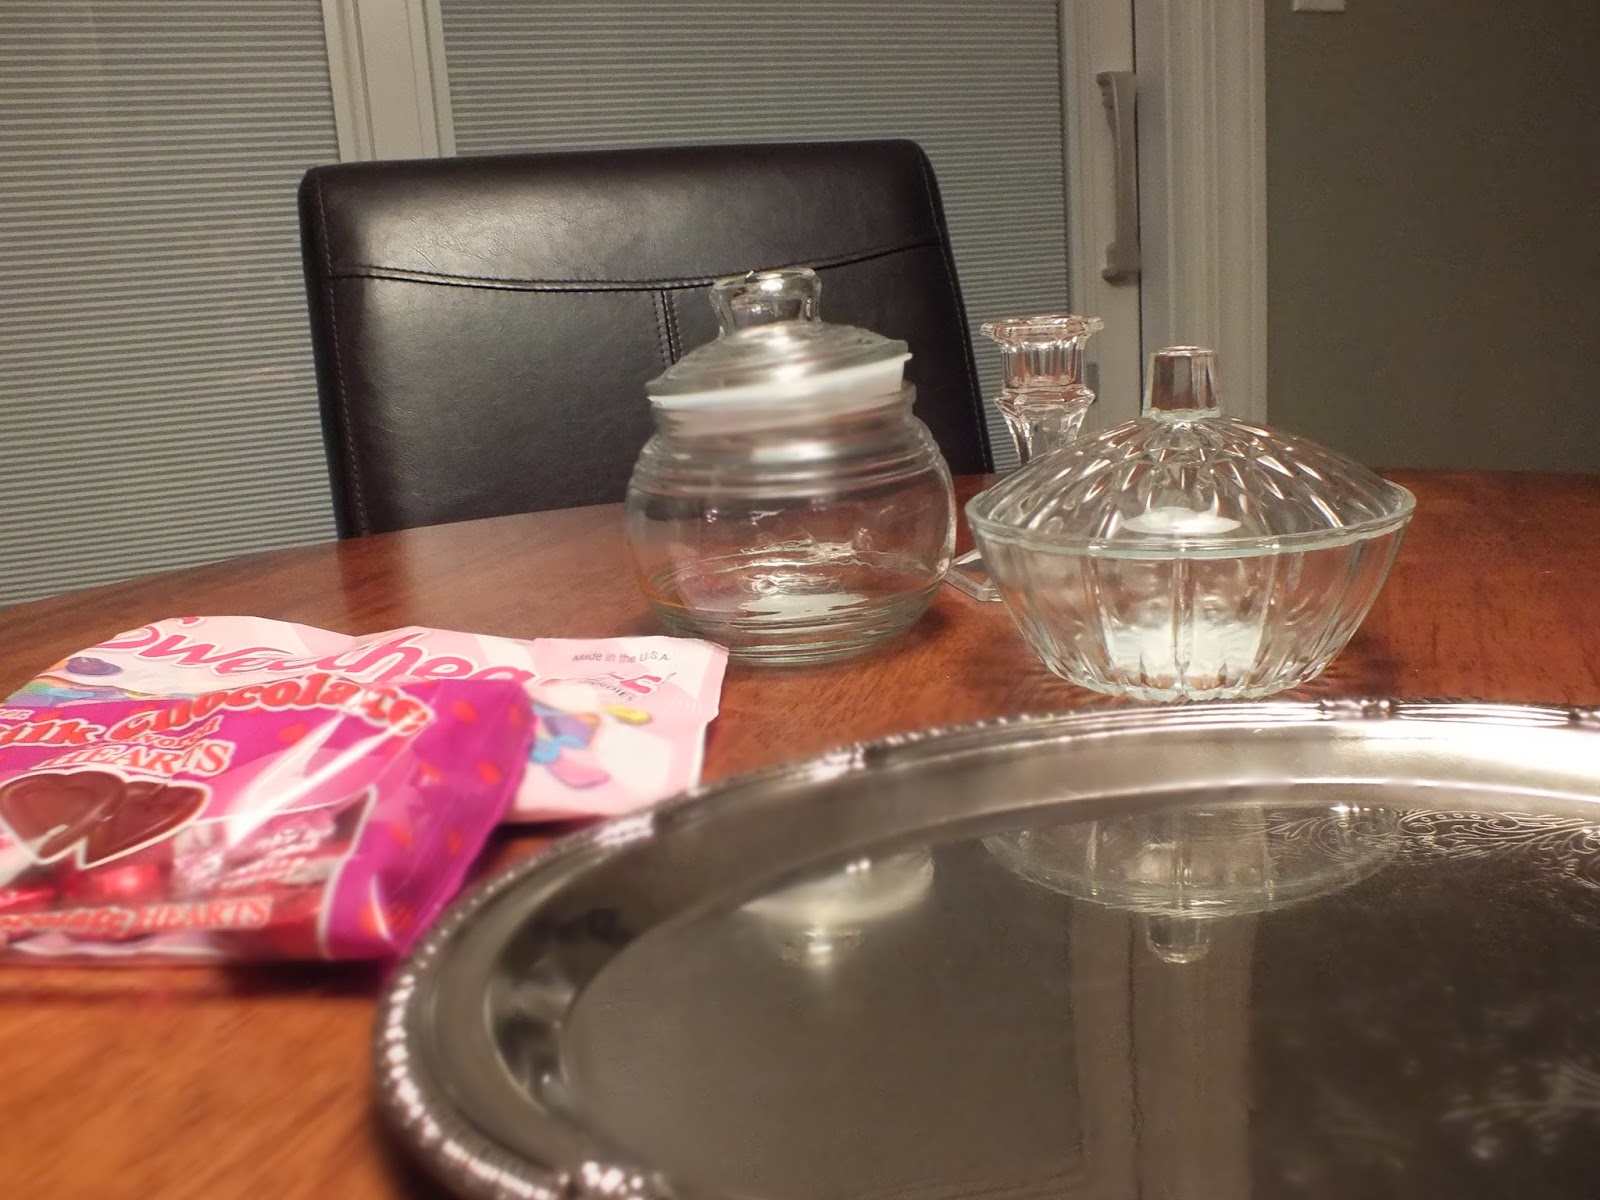
Get those bags of Valentine's candy on display!  Use the colored wrappers part of your décor around the house!

 
Supplies Needed:
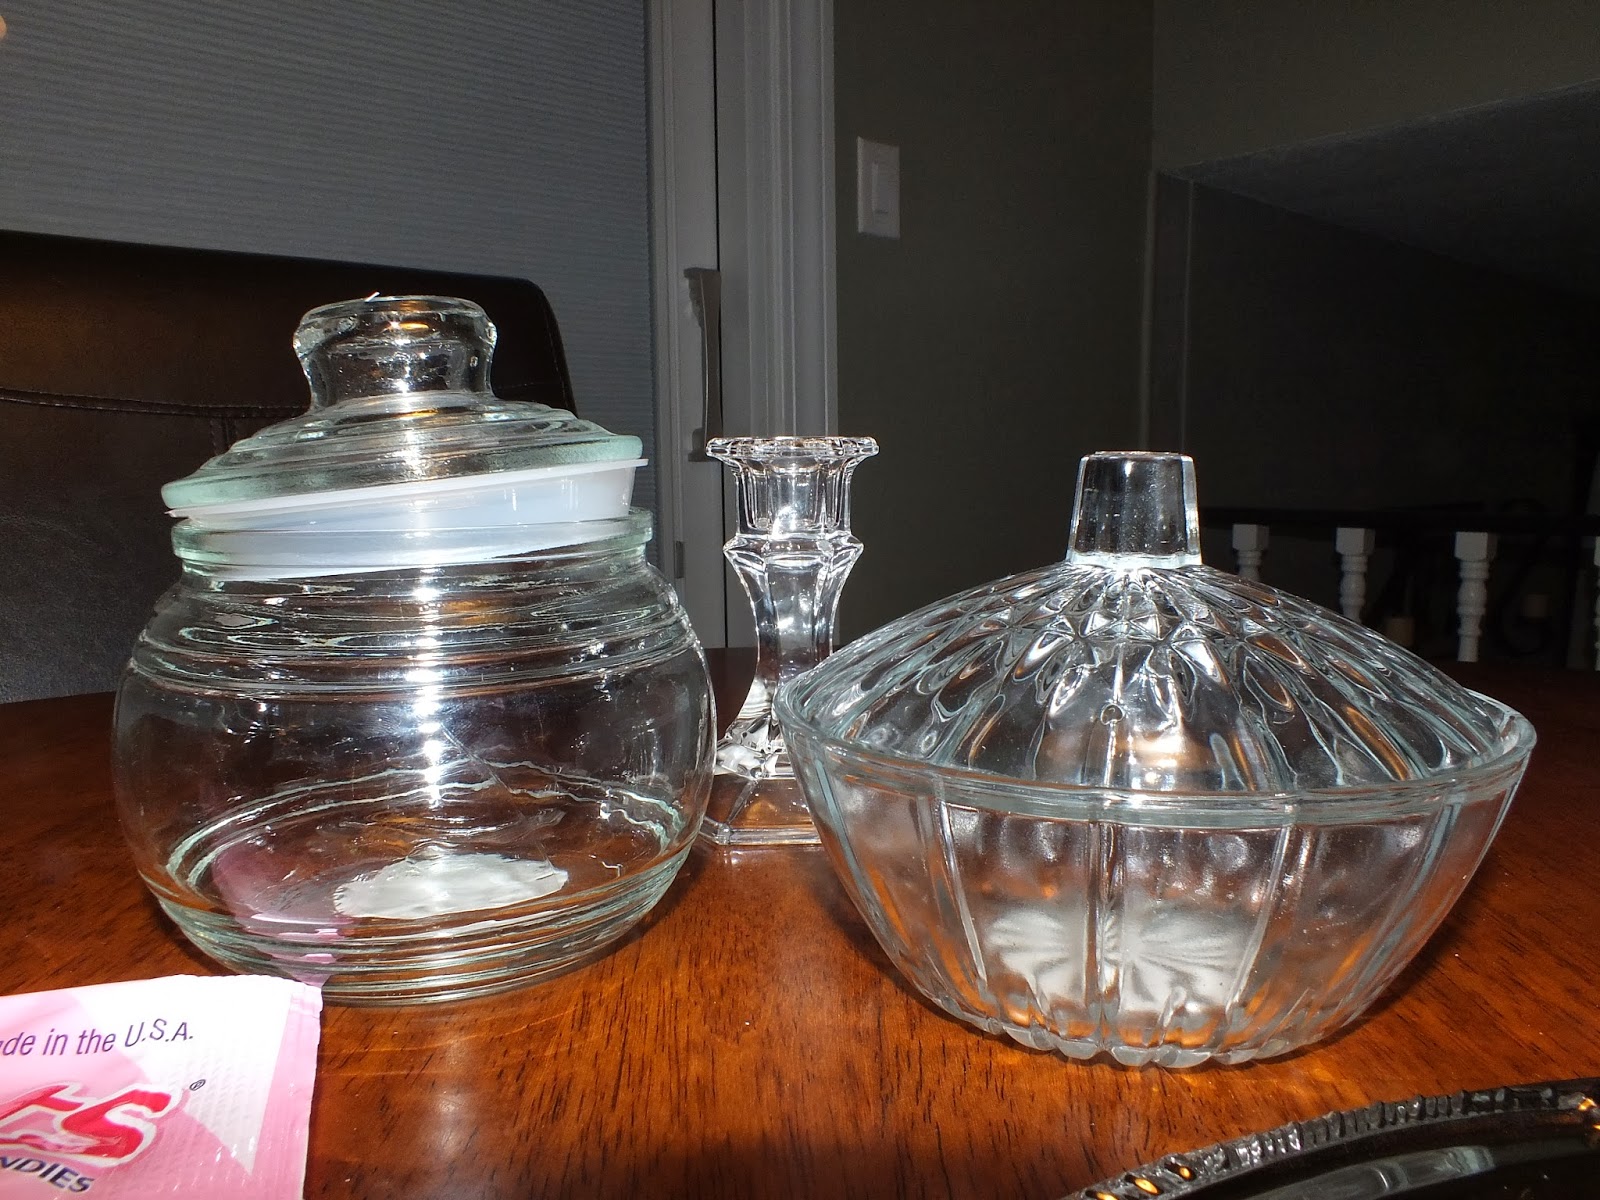
2 clear glass containers
1 Candlestick
Silver Tray
craft paint & paint brush
Hot Glue Gun and Glue


I got all of these items at The Dollar Tree.
I painted the candlestick in a Ballet Slipper Pink craft paint, let it dry overnight. 
Glued the candlestick to one of the glass containers.
My daughter was thrilled to put the candies in the dishes! 
We have chocolate hearts and conversation hearts (she loves them)
 
 
I put some little jewels on the tray - just for the fun of it.
 
Any fun ways to display your sweet treats for Valentine's Day????

Friday, January 24, 2014

L is for the way you look at me, O is for the only One I see... Love is meant for you and me!

You can't tell me you didn't bust out in song to Nat King Cole's rendition when you read that title... *sigh* now that's some dreamy music!!!  Talk about romance...  ooohhhh lala! xoxo!

Well hate to disappoint... this post isn't super romantic, (insert disappointed sigh here)  it doesn't have any lyrics that will sweep you off your feet... maybe check back next time, HA - yeaahhhhh about that... don't get your hopes up.

I have a quick fix for a framed piece in your house.... I use this frame in my dining room, and I put different printable quotes in here, depending on the season.  See back to Dining Room Reno for another example. 

This project took me all of about 5 minutes... seriously...
It took longer to cut the letters out on the Cricut than anything else.... And that does NOT take long at all!


Supplies:
12x12 craft paper - 4 pieces in coordinating patterns
plain paper for the background
picture frame - I used one I had in room already
Scotch Double Sided Tape
Cricut Die Cut Machine
Cherry Limeade Die Cut Cartridge


I cut the 4 different letters out, one letter on a different patterned paper.
I used scraps of paper from the same color family for the letters.
Because the size of the frame I cut the letters at a 5" size.
The frame I have is a 11x17 (I think - maybe - perhaps?)  - We will just go with that....
I used two pieces of light blue 8 1/2x 11 paper taped in the center together for the backing.
After the letters were cut out, I taped the letters, placing them in the center of the paper. I used Scotch's Double Sided Tape.

I placed the piece in the frame and hung it up in the dining room.... instant Valentine's Day art!

 
Seriously... 5 minutes... TOPS....
 
Any easy to do, change ups going on in your homes?

Thursday, January 23, 2014

Valentine, Your'e Just Write for me!

Valentine's Day was always so much fun when I was in Elementary school... everyone handing out Valentine's to their class mates, some had candy with them, some people would write sweet things, while others would just sign their name. 
Everyone had their own "mail box" where the valentine cards were dropped before the party.... each box was decorated up in a unique way. 
There would be snacks that everyone enjoyed and probably a game to play with your classmates as well.

You would come home with just scads of candy sometimes... and that is every parents "dream"  nightmare. 

Now as a parent...I would prefer that my sweet baby girl didn't not overload on the ole candy... :)  I know... what a meanie mom I am huh?

Here is a no candy solution for your kiddies this year!

Valentine, You're just Write for me!


Supplies:
pencils
12x12 craft paper
typed and printed sentiment
Creative Memories cutting mat
Creative Memories circle tools
Creative Memories cutting blades
Scotch Double Sided Tape
Hole Punch


on your computer, draft up your type.... and sentiment.  Try to fit your type into the size of circle you will be cutting out.
 
 
Using the inside of cutting tool cut a small circle around the typing...

 
then using the outside of your Creative Memories cutting circle and blade.... cut a circle out of the pink paper.

 
Now using your double sided tape.... adhere your typed paper to the pink craft circle...

 
punch out 2 circles with your hole punch, one on each side of the outer pink circle.  Insert the pencil in the two holes.  I picked up these pencils in the $1.00 bin at Target.

 
Share with your buddies at school, daycare or even with your co-workers!


Wednesday, January 22, 2014

Burlap Silverware Holders - Show your diners some LOVE!

We have some guests coming over for dinner soon, and I thought it would be fun to have a little "love" for our guests at our meal.

I thought these burlap utensil holders would be a great way to dress up the table setting!

Seriously.... ADORABLE!!!!
 
Supplies Needed:
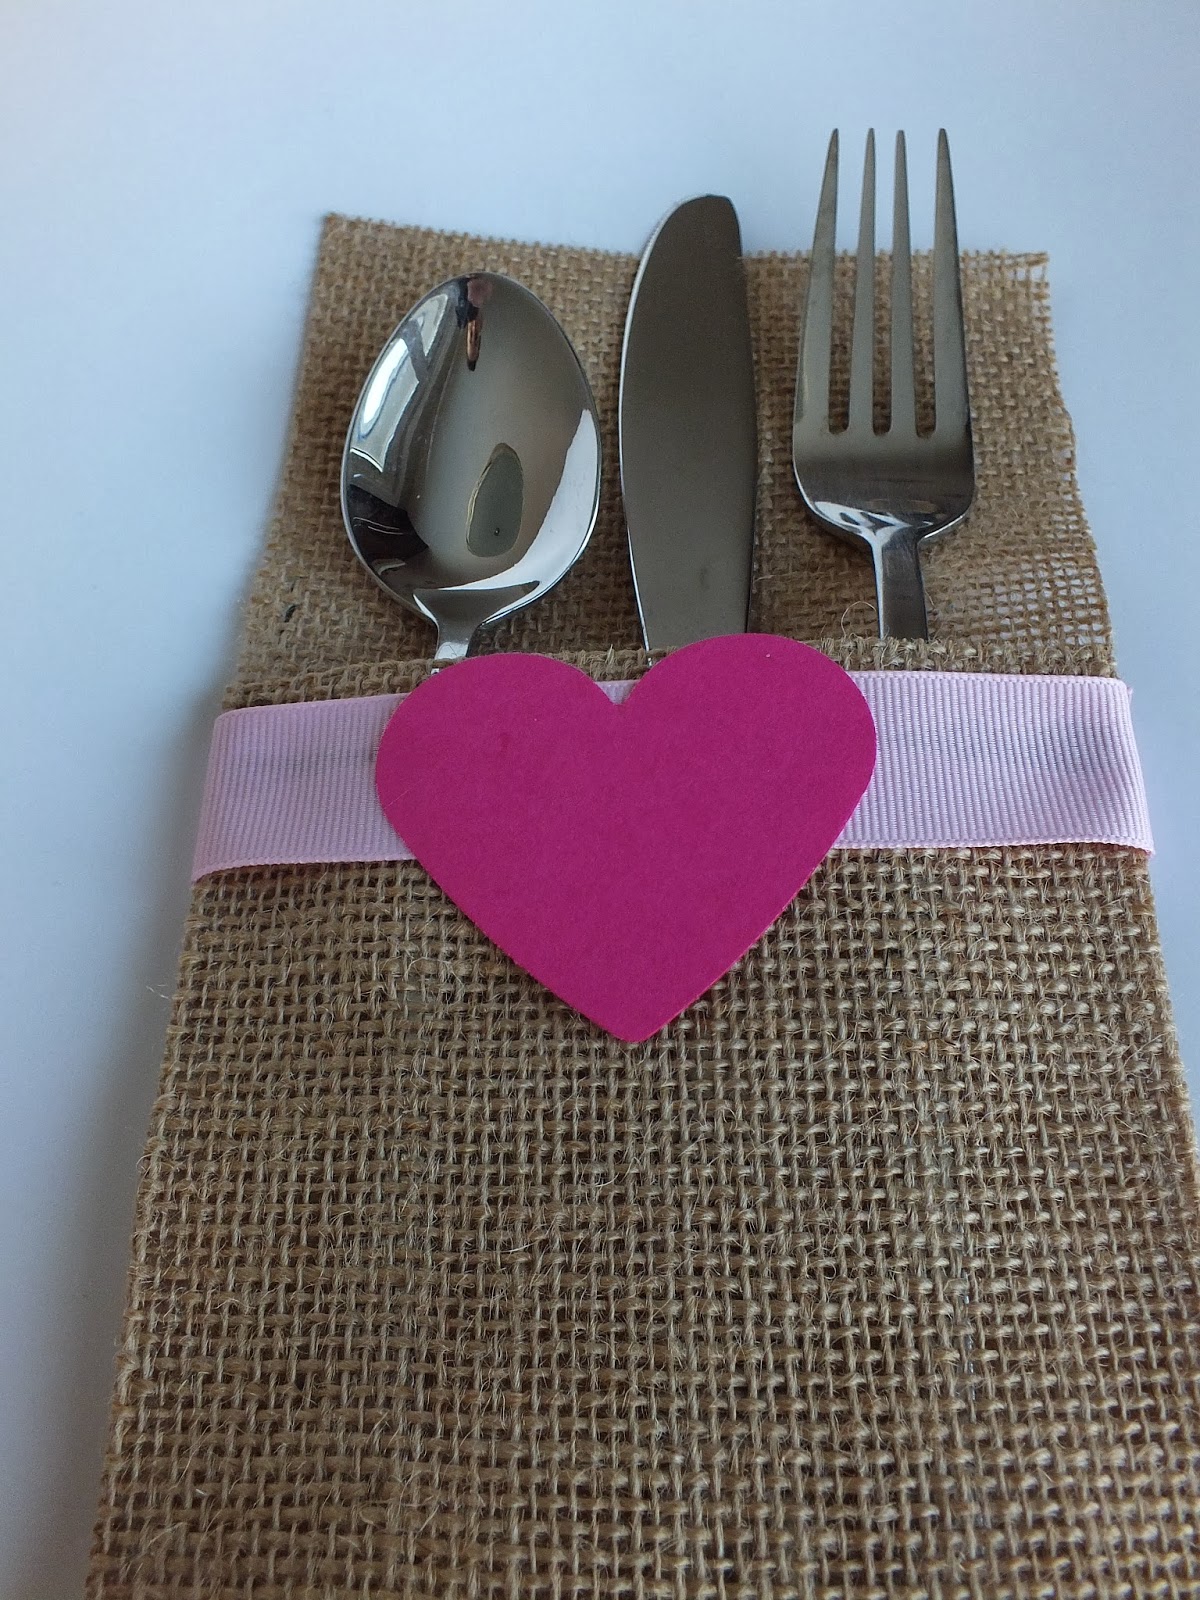
Burlap
Scissors
Ribbon
Craft Paper
Heart Punch
Glue
 
I had some burlap from this past fall that was left over...
 
 
I cut one long strip that was 12 inches tall...
Folded up 4 inches and left the other 8 inches for the back, creating the pocket
 
 
I cut this strip into 5 equal pieces, they are a little over 5 inches wide

Gluing the sides of the pockets closed...  and added a strip of pale pink ribbon to the tops of the pockets... I put a piece of paper in between the layers to keep the two sides from attaching to each other....


After the ribbon on the front had dried, I wrapped the ribbon around the back and glued the rest of the ribbon to the back, creating a full loop. 
 
I cut out 5 hearts using my heart punch.  I used raspberry red paper. 
I then glued the hearts to the pink ribbon...


Now the glue has all set... I removed the papers from the pockets and added silverware.

 
These are going to be the perfect addition to our dinner!!!!!
 
Anyone dressing up their table scapes with Valentine's Day crafts?


Tuesday, January 21, 2014

Toddler Tuesday! I Love you to Pieces! - Valentine's Day Craft

My sweet little miss LOVES to craft, cut stuff with her "safety" scissors -
I use the word "safety" loosely as she has cut holes in her shirts a couple of times.
 - just for the fun of it. 

and she loves glue sticks, glitter and my ever enlarging collection of scrapbooking paper... 

Hence this Valentine's Day craft came about -

I Love You to Pieces! 
Perfect for mailing to those grandparents to let them know they are loved :)

 
Supplies Needed:
scraps of craft paper
kids scissors
Elmer's glue
Construction Paper
Marker


Have your little one cut up pieces of scraps of paper. 
 
While they are cutting, write on the piece of construction paper -
"I Love You to Pieces!" and draw a heart on the paper


using Elmer's disappearing purple school glue, dap the scraps and place the small pieces into the heart


Viola! 
A great Valentine's Day craft that will let that someone's someone special know that they are loved!!!!


Any of you have a great craft that your toddlers are putting together for Valentine's Day or just a winter activity?

Monday, January 20, 2014

Meatless Mondays - Rice and Black Bean Enchiladas


We are really trying to cut back on unhealthy foods, try new foods, as well as watch our grocery budget.  Pretty much the story of every household across America, right?!?!? LOL. 

Shawn was told he needed to watch his cholesterol levels in a health screening that he received from his employer.... so he runs.... ALOT... and to help partner up and support him, we have incorporated some new recipes and food items into our grocery list..... as well as cutting red meat out of our diets dramatically..as in pretty much NONE at all....

We have cut down to chicken, seafood, and the occasional pork chop as meat options... and we tend to eat one of them a week...

We have taken on a lot of beans, rice, quinoa, millet, barley etc.  It's been an interested adventure so far... some recipes have been really good and some have been really bad  HORRIBLE!!!!!

However, here is a Recipe of Yumminess.... (insert lip smacking noise here).....

Rice and Black Bean Enchiladas


Ingredients:
2c cooked rice
1c 15 oz can of black beans
1 pkg taco seasoning
1 pkg of corn tortillas
2c Salsa
1c Enchilada Sauce
Shredded Cheddar Cheese
Lettuce
Sour Cream

Directions:
Preheat oven to 350 degrees.  Cook rice, drain and rinse black beans.  In a large bowl, mix rice, beans and taco seasoning. Pour 1c of salsa on bottom of 9x13 greased pan.  Spread to cover bottom of dish. Fill corn tortillas with rice/bean mixture.  Place in pan, cover with enchilada sauce and remainder of salsa.  Sprinkle cheddar cheese over sauce covered shells.  Bake in oven for 18-20 minutes. 
Top with shredded lettuce and sour cream.
Enjoy!

I had these as leftovers the next Tuesday, still full of flavor and just as tasty!