banner background

mmici21

Wednesday, January 30, 2013

Snow Day Crafts... Felt Hair Clips

Today is a SNOW DAY at the Smother's house.... so what shall we do to entertain a 2 year old and a dog who constantly wants to be out in the snow... until he realizes he's cold and wants to come in.... every 3-5 minutes .....

I feel a craft coming on! 

Finley has some outfits that she doesnt have hair bows for... so I thought I would share with you all how I fixed that "issue".  Here is a look at the final products, I also did a flower in lime green, grey and white, which isnt pictured here.  These 3 clips took less than an hour to make... I had all the materials on hand, except for the hairclips (major part of this project, so they are a MUST have)

My mom and my grandmother would be so pleased to know that I even did hand-stiching on these babies.... and this girl... isnt one who sews....

Materials List:
Felt - I used 3 colors - these are usually sold anywhere from .20 to .50 a pc.
Button in coordinating color
Thread & Needle
Glue
Ribbon
Scissors - i used regular and pinking shears
Ribbon - $1.97 for small grossgrain ribbon
Hair Clips - $1.98 at Walmart


Next is the prep time....

First -
I glued the grossgrain ribbon to the hair clip... measuring roughly 1/2 inch longer than needed, you will fold this extra in and glue it down.  I used white for this clip... and its a little difficult to see... however the ribbon covers both sides of the clip, and then folds into the inside. 


Second -
I cut out 3 circles from my felt pieces, in 3 varying sizes.  I used the pinking shears on one layer to give some texture to the flower layers.  I ran a small dab of tacky glue in between each layer.

Third -

I sewed a yellow button onto the top layer (white felt) to hold all 3 pieces together.  while in the sewing phase of the project I also "outlined" the dark blue felt with the yellow thread as well, giving it a little home-spun cutie pie look. 


Look Mom!  I actually sewed something !!!!!!! 4-H really did pay off in the long run!
 
 
Fourth -
 
I cut out two green leaves from felt and glued them on the backside of the yellow bottom layer.  I then glued the ribboned hair clip to the felt flower....  
 
 
Here is Finley modeling the pink and grey flower... please excuse her bed head... she wasnt quite ready to get dressed and ready for the day yet.... 


What fun craft projects can you and your family come up with this snow day?  Whatever it is that you choose to do today, please stay warm and safe.  Cherish your time with your babies, they are such an awesome blessing! 
 
Have a wonderful day!


Sunday, January 20, 2013

Escapades in Remodeling - Part 4

 
Today is the big reveal!!!! 
 
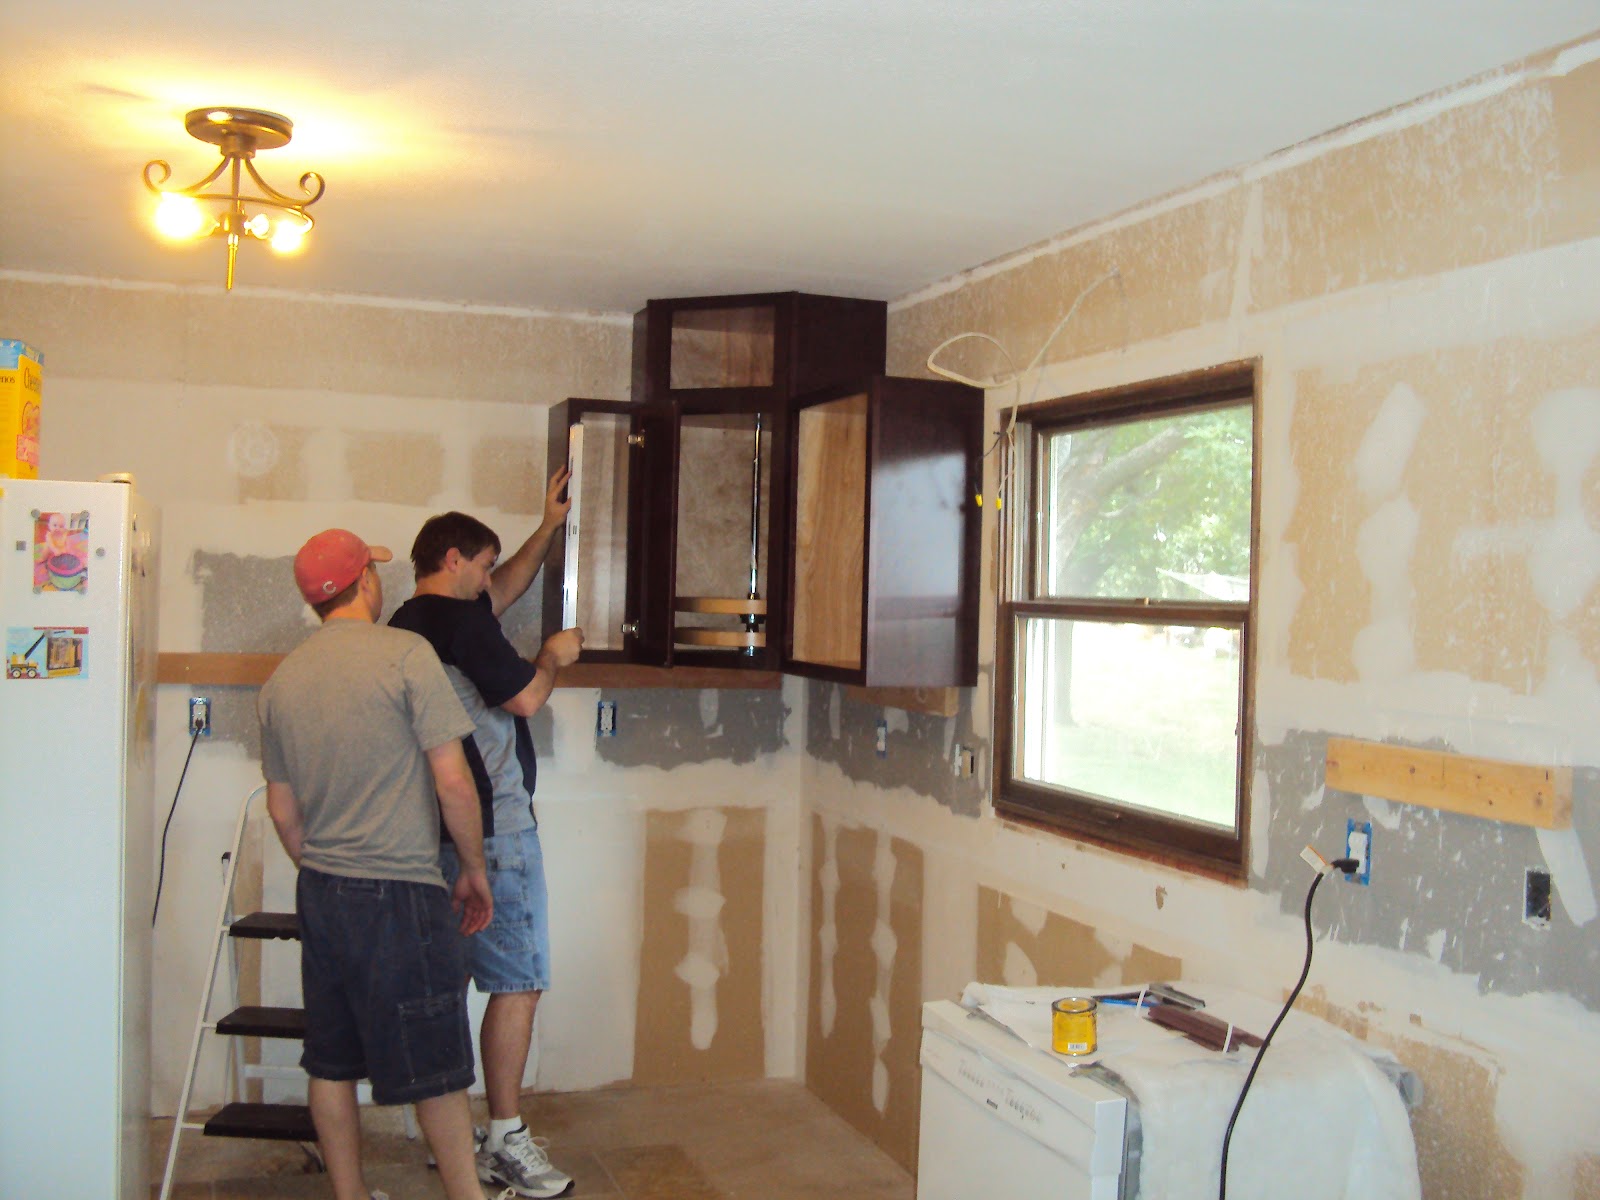
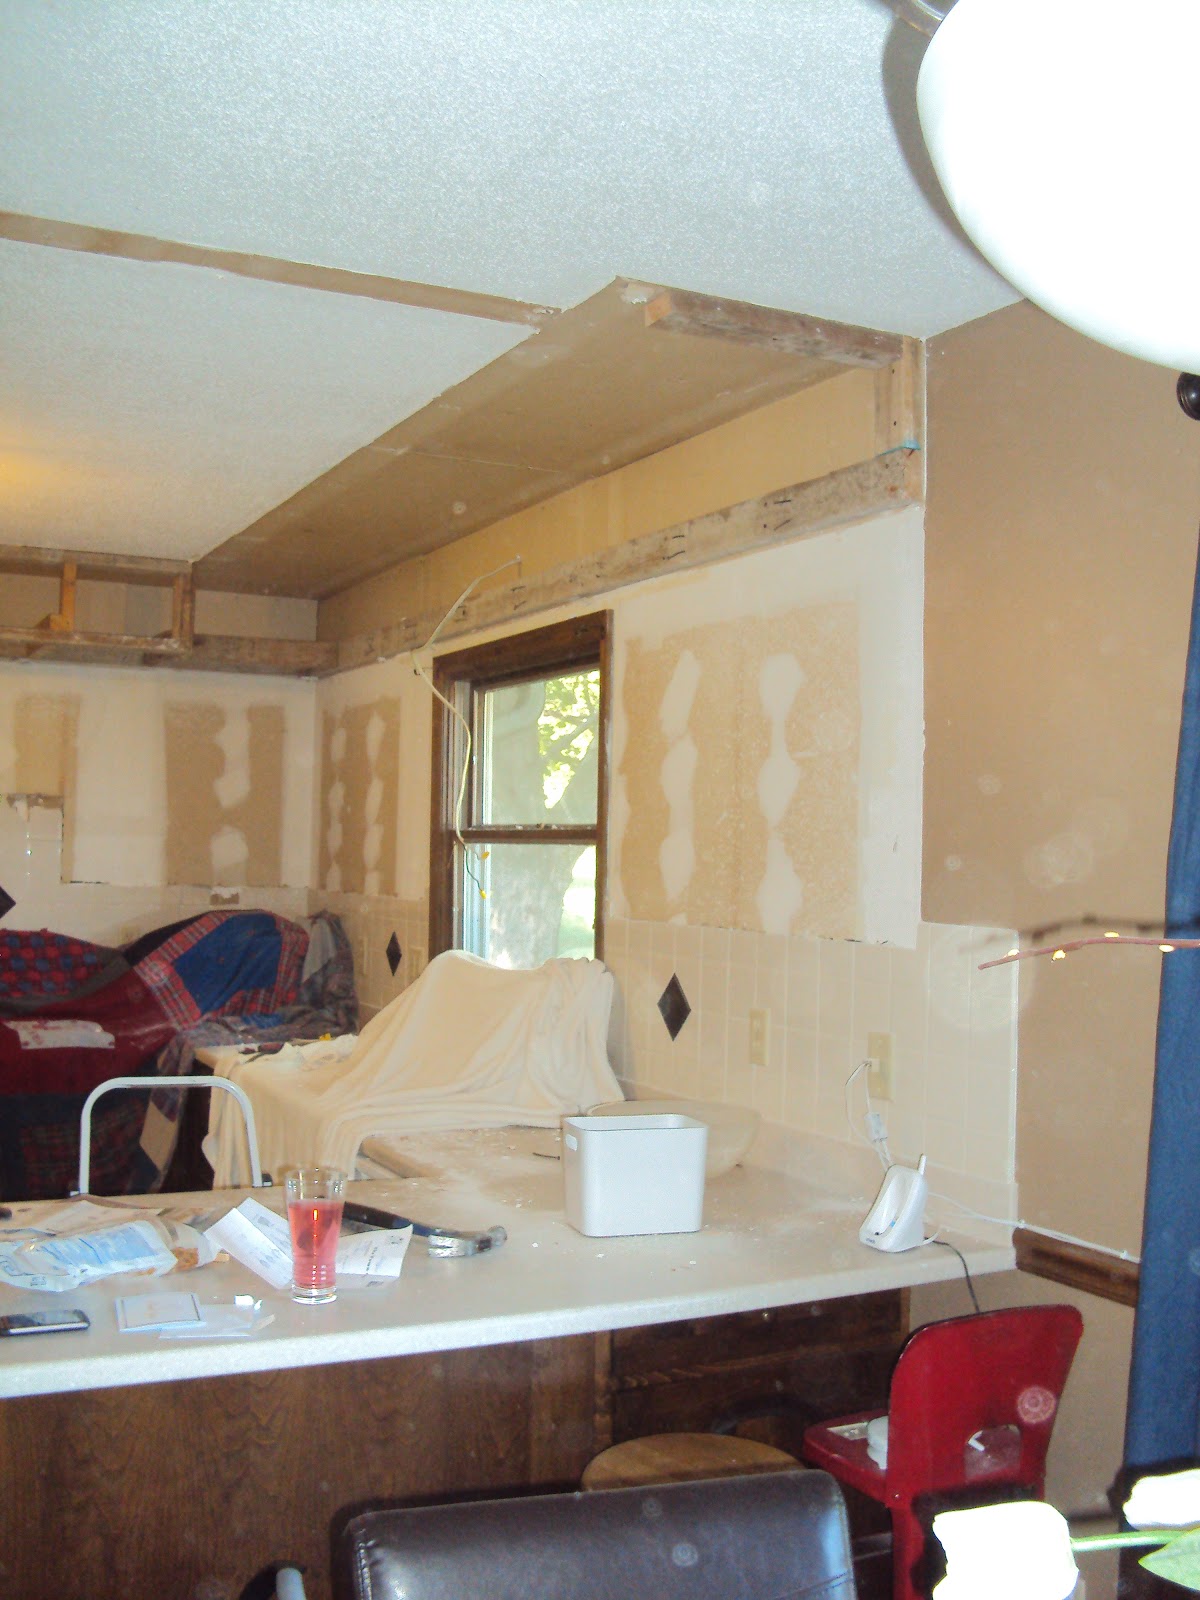
Here is the kitchen before....once we had the fridge and stock cabinets installed.
 
 
Here is the final product!!!!!  I absolutely LOVE LOVE LOVE my kitchen!!!! 


 Our lights were ordered online from Ferguson, two pendants over the island and then one big drum over our kitchen table.  Costs were originally $600.00 with shipping.  However...  the light over the table had some wiring issues, and the company credited us the cost and we were able to fix the issue.  This company has great customer service, very helpful and quick to take care of any questions or issues that come about.    So the total cost came to $
 
Exact Budget Breakdown:
         Cabinets - $12,700
                           Island countertop redo - $100
           Flooring - $ 650.00
              Microwave - $300.00
              Backsplash - $435.39
         Lighting - $200.00
          Hardware - $200.00
                     Industrial faucet - $200.00
Paint - 50.00
                                       Electrial items - bought in bulk before
  Tools - $800.00
Trim - $80.00
 
 
Grand Total: $15,015.39


Lets take a snoop thru our cabinets and our upgrades that were provided by Kraftsmaid - FREE!
 
Corner Lazy Susan - houses our pots and pans 

 
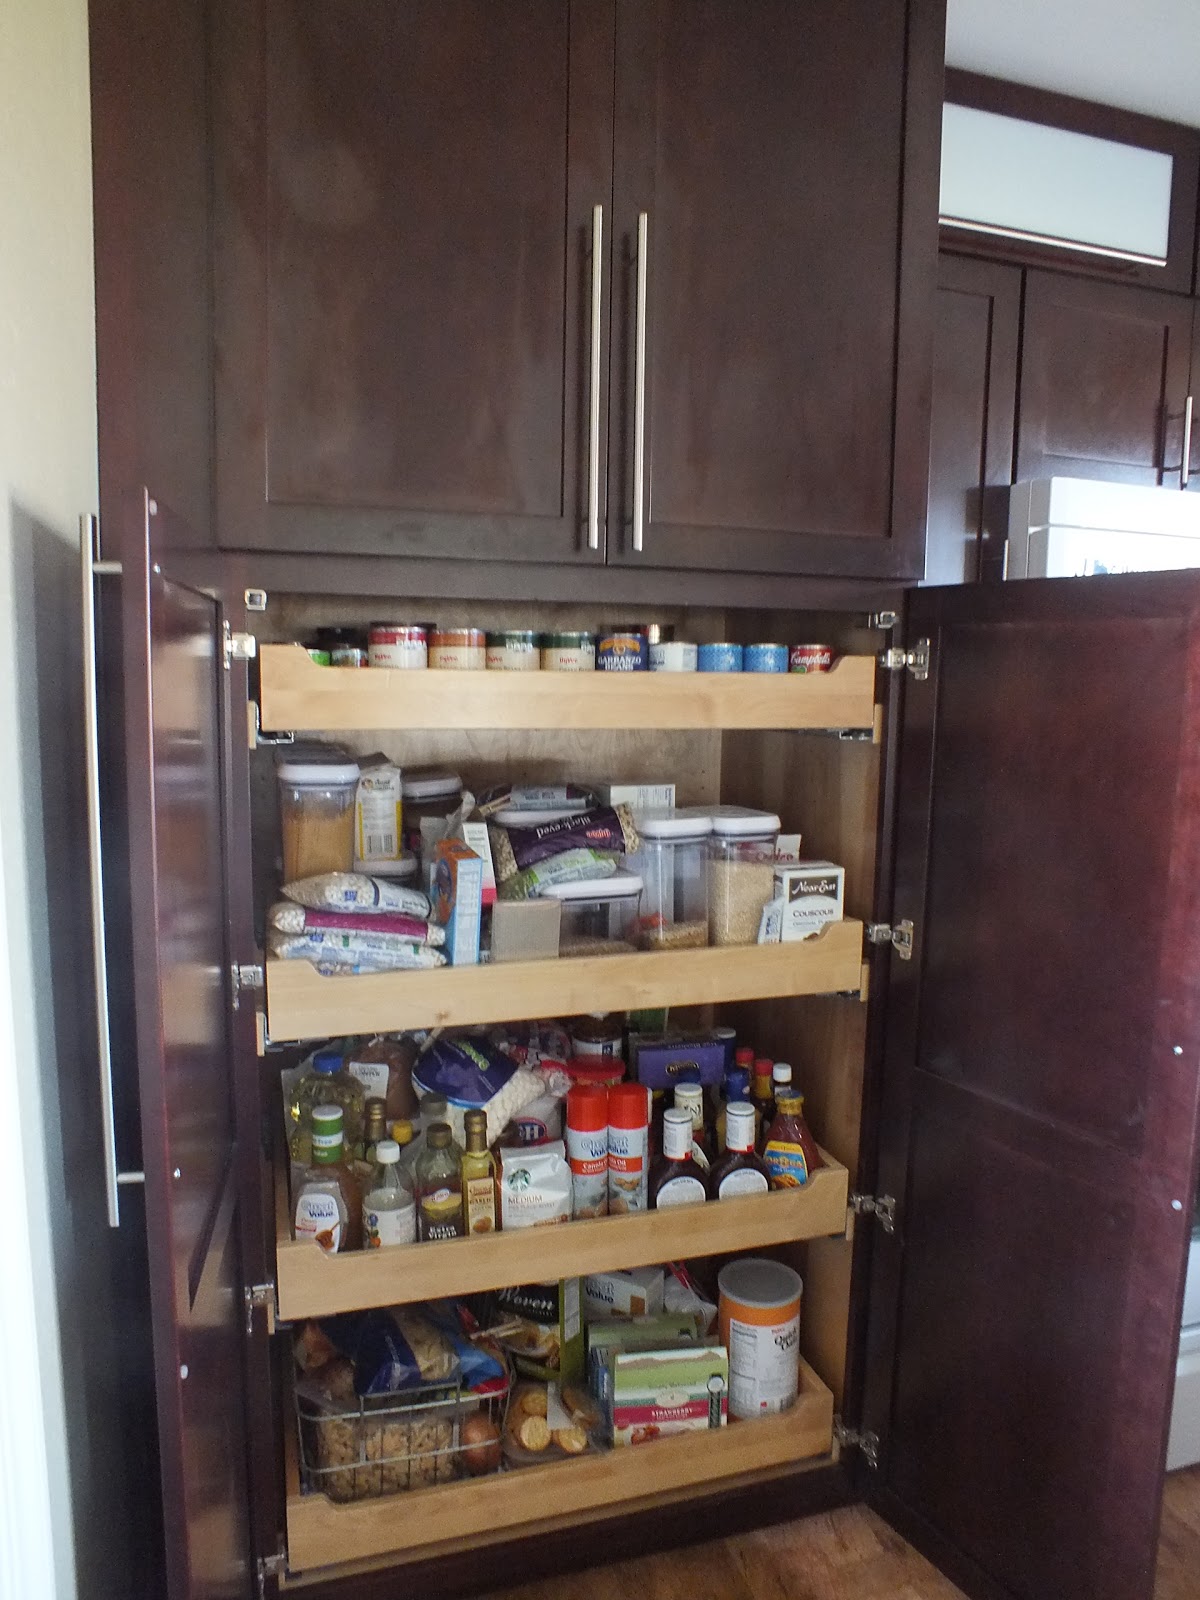
Our pantry (please excuse our mess!) All pull outs have soft close.  The cabinet above has 3 shelves and houses our mixer, blender, food processor, and our wine and liqour (got to keep it out of reach of small people)

Picture of our free sink base and tip out drawers - provided by Kraftmaid - for FREE!
Faucet came from Lowes

 
Pull out cabinet with 4 shelves.  Houses our odds and ends at this time.  Kitchen towels, baggies, lunch box, and the neccessities

 
Here is a nice view of the kitchen and the new location of the fridge. 

 
A shot of our upper cabinets.  They hinge upwards - this is only available thru Kraftsmaid.  The hinging is quite impressive... they are also soft close.  GREAT Storage!  These house our serving ware and pitchers. 


Pull out drawers in the island - vew of our silverware drawer....

an ever so lovely view of our pull out recycling center... complete with cans and our recycling materials.... aka trash :)  


A view of our other pull out drawer in island.

 
This light is a fun little story!  This used to be a plant hanger that I bought at an antique store in Oskaloosa.   This used to be a mobile in our house in Oskaloosa, and was serving no purpose at the new house in Pella.  So, I asked and Shawn made this into a light!  A pendant light fixure from Lowes for $12.00, a cross bar welded to the metal ring and a lightbulb from Walmart.... There was some welding involved and some help from our neighbor Blake, viloa... light fixture!
 
 Originally, he cut off the metal basket, and then created an original light for over our sink. 
He drilled small holes in the metal ring and the silverware.  The silverware came from the Pella Thrift Store.  Each piece was .25 if memory serves me right....

Our under-mount sink and faucet.  The sink was new when we bought the house, so we kept it as well as the countertop.  - Money saver!

Our broom closet!  Houses our extra cleaing products, shark steam mop, and other various items.  Everything has it's place! 


close up of our hardware and backsplash.  The tile color/style is called Flagstaff as was a dry stack so it was a pretty quick and easy install with thinset on the back and some pressure.  We did seal the stone, which will last for 10 years. 

Our upper lazy susan cabinet that houses our baking goods and measuring items.  My Grandma Alice had lazy susan's in her house and I always liked them... so I wanted that in our corner cabinets as well.
 
Here is the overall picture again... final product, and I absolutely LOVE my kitchen, all our items in one organized room, its efficient, the flow of the room is so handy, and makes our time in the kitchen so much better.  The way it updated our house and brought it out of the 1970's is amazing. 


Many thank you to each person who helped us with our dream, without you, we wouldnt have this wonderous room for our family for many, many years to come.  The saying is true... the Kitchen truly is the heart of the home!

Next remodeling "treat" for Shawn..... the dinning room

Saturday, January 19, 2013

Escapades in Remodeling Part 3

Let's get some cabinets installed folks!
 This was a momentous and very exciting day at our house.  Well exciting to me at least LOL!  I dont know how thrilled the guys were,  but I know that I sure was jazzed! 
 
Cory and Shawn started with our upper cabinets, they are getting ready to install our upper corner cabinet. They are going to put the upper hinged cabinet and the corner cabinet and two side cabinets in together... 
Lets get this "party" started.....


                                                  putting the corner configuration together....


One very "fun" fact about installing corner cabinets... this cabinet has to be perfect, level and installed to perfection.  All other cabinets stem from this... so if this is off... the rest of the cabinets will be of too.  This configuration took about 4 hours from putting together and installed. 


Corner is in and looking great!  Then they went onto the far wall, with the pantry.
Once the pantry was installed, then they moved onto the other cabinets on the far wall and the upper hinged cabinets with the frosted glass. 


By the end of the day these were all installed and we actually had base cabinets installed as well....  its starting to look like a kitchen! 


Next morning was our cabinets that surround our fridge.  This cabinet has a pull out shelves in the bottom and standard shelves in the top for my cookbooks. 


The upper cabinets that go above the fridge...... two massive and deep shelves to hold our party and serving ware items.


onto the broom closet to close off the entire fridge nook....

Heres a look at the progress so far....  
 
The tile flooring will be removed and replaced with recycled cork


tada!  we have an island!  Remember the countertop that was on our breakfast bar?  Well we were able to take it to Des Moines and have the corners rounded off and you would never know that the edges were rough and sawed off. 


Here is the stone for our backsplash... we picked a dry stacked stone from The Tile Shop in Clive, Iowa. 

 
Its starting to come together!!!  The only new appliance we bought was the microwave, from Lowe's. 


well there is the jist of the install... 
Next the final pictures and the comparision of the before and after pictures! 

Friday, January 18, 2013

Escapades of Remodeling - Part 2

DID SOMEONE SAY DEMOLITION?  SWEETNESS!!!!  I have some agressions that could be worked out via a sledge hammer and a pry bar...  plus an extreme hatred for cheap cabinets with a waxy plastic varnish on them... along with a strong desire to have my gorgeous cabinets installed :)

Welcome to our mass destruction... WARNING... the photos you are about to view are quite graphic and full of dirt, dust and insulation....  again... quite graphic... like remodel/construction porno.. only more PG... 

All upper cabinets are out.... we saved them for our friend Cory Brown's garage.  Since he helped us with the remodel, we donated all our cabinets to the Brown garage storage over-haul. 


Soffit?  Who needs soffit?  Space waster!  Dry wall that is available for punching holes?  Dont mind if I do! 


We decided to save the countertops that came with house, for two reasons....
1.) they were brand new, Corian and were very neutral
2.) Corian countertops are great for germ free and low maintance
3.) Repurposing allowed us to save $$$$ on our budget...  the breakfast bar is about to become our island! 

 
protecting our undermount sink from the MASS DESTRUCTION..

 
I am so going to need to get our furnance and our ducts cleaned out after all this dry wall mess....


Its all opened now and all upper demoltion has been completed...
So far we removed the following:
Upper Cabinets
Canned Lighting and wiring
Soffit and all framing
Drywall


Now onto the base cabinets and the removal of our tile backsplash.  I did like the metal tiles that the previous owners had used, however I couldnt figure out how to use them in the new design. 

 
Hey, there's Cory Brown!  I cannot even begin to describe how much he helped us.  Many thanks to him for his many talents, his patience and his time.  He gave up so many weekends and evenings to help us with our dream, hes an ACE in our books!  Thank you to his family for sharing him with us.  XOXO!

 
Shawn and Cory cut the countertop on the breakfast bar in hopes that we can use it on the island - just a straight cut, I think they went thru a couple saw blades LOL. 
 
We have now removed:
Breakfast Bar
Backsplash


Now to cut out the damaged drywall from removing the backsplash...

Hello exposed insulation.... we shall become friends over the next few years...


We used Backerboard instead of drywall.  We used this since we would be installing a new stone backsplash.

Well... we kind of have a kitchen... running water... coffee pot, fridge, microwave and stove....I have yet to have a construction breakdown yet...

Cost for this process:
roughly $200.00 for mud, tape, backer board and hiring out of the texturizing of the celing.

Running Budget Total: $13,200
Amount Remaining:$6,800

Over time (2weeks), we removed ordered our cabinets, demo'd the cabinets, backsplash, removed the entire countertop to use later on, removed the flooring,  and started with NOTHING in this room....

We hired a co-worker to texture the celing so that the two seperate rooms become one, he did the knock-down.  Thank you Vant!

Installation next....